DIY Recycled Photo Frame
Happy Mid Week!
Just a few more days to the weekend, so hang in there. :)
Today for Inspiration Time over at The Cutting Cafe blog, we are to recycle and reuse! What a fun idea Regina had.
So I got a cereal box that I was about to throw out and made a photo frame!
Yups, I handmade this for my hubby. Since he loves cycling, I showcased his awesome bike here and made him his very own "show off" display :)
I used the Bicycle Background set & Cameras Everywhere Background Printable set -- which I printed on some patterned paper. Then I embellished it with a simple sentiment from Heidi Swapp, a die cut piece and some enamel dots.
****
So, let me show you my quick process on how I made this frame.
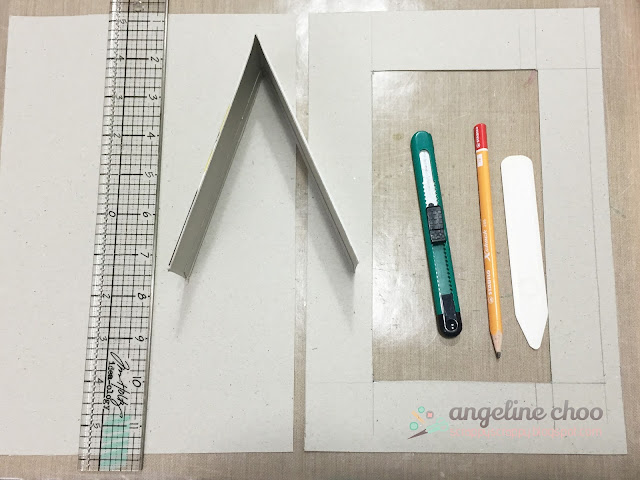
First up, get a cereal box and cut out these 3 pieces:
+ The frame
+ The backing piece
+ The support piece
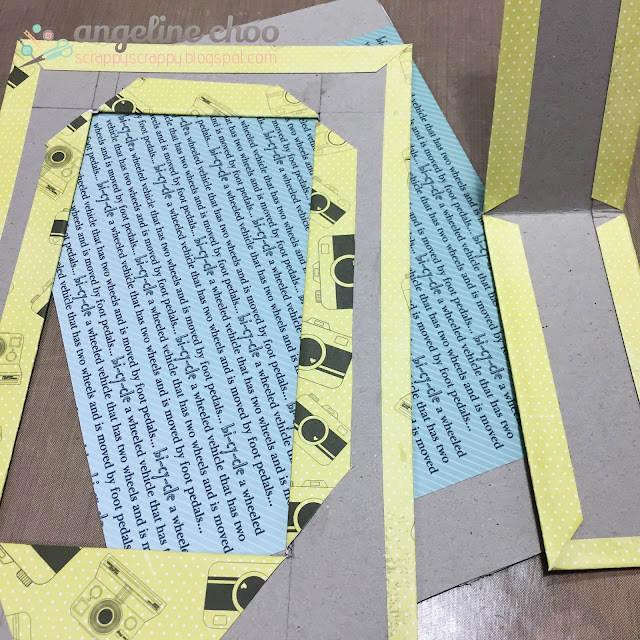
Next, get some patterned paper and begin to WRAP! :)
As you can see, it doesn't need to be perfect.
Finally, just piece everything together and you are done!
For the support piece, I added 2 buttons and some twine to it to "limit" the opening so that it will be able to stand upright.
Hope you've enjoyed my DIY project for this week.
For more inspiration, do hop on along to The Cutting Cafe blog.
Leave a comment on each blog and you may be winning any 3 sets of your choice from the store!
Happy hoppin'. :)


4 comments
GENIUS GENIUS GENIUS.............
ReplyDeleteI LOVE this idea!! Too CUTE!!!!
ReplyDeleteLove this!! And what a great idea of adding buttons to the stand! I have tried something like this before and it wasn't sturdy enough to stay up-I will add the twine next time-AWESOME!!
ReplyDeleteLove this!
ReplyDeleteThank you very much for stopping by and leaving comments. Have a lovely and blessed day!